
How to create a Scorecard?
Scorecards are a way to measure sales reps against set KPIs, along with scores and leaderboards. Read more about Scorecards.
Here is how to go about filling each field to create a scorecard:
Step 1: Select Measurement Frequency and KPIs
Business Unit: Select the business unit for which you would like to select the scorecard. In most cases, you might not see this field at all.
Measurement Frequency: Specify how frequently you want to measure the KPIs like daily, weekly, monthly, quarterly or annually.
Status: Select the status of the scorecard here. Active or Deactive.
Visibility: Choose if you want to make this visible to the users or hide it.
Priority: Give a priority to the scorecard here. According to this priority, it will get displayed in the report. For example, if you give "1" here, it will get displayed in the 1st position. If you give "2" here, it will get displayed in the second position.
Scorecard Name: Give a name to the scorecard here.
Scorecard Description: Write a short description of the scorecard
KPIs Added to this Scorecard: In this section, add the KPIs that you would like to measure in the scorecard by clicking on the 'Add KPI' button.
Here is how to fill the fields to add KPIs.
Visibility: Choose if you want to make this KPI visible to the users.
Position: This determines the position of the KPI in the chart. If you give "1" here, it shows the KPI in the first position, 2 shows it in the second position, and so on.
Measurement Type: This field takes two types of values- Actual and Level.
- Actual: This value lets you give a KPI value and points for that value. Every time a rep achieves the KPI, she will be allotted points. For example, in the below screenshot, for every 20 calls made the rep will be allotted 10 points.

Target: Set a target for the KPI.
Floor: This is the minimum KPI value to achieve in order to get a score.
Ceiling: This is the maximum KPI value after which the score will not be given.
- Level: This lets you set a KPI level and a score. The score will be allotted only once the rep achieves that level. In the screenshot below, 3 levels have been defined. If the rep makes up to 5 calls, she gets 10 points, if she makes between 5 and 10 calls, she gets 50 points and if she is exceptional and makes more than 10 calls, she gets 120 points.

- Individual Level: This is similar to Level scoring which lets you set scoring for each data uploaded individually. The score will be allotted only once the rep achieves that level. In the screenshot below, 3 levels have been defined. If the rep makes up to 5 calls, she gets 10 points, if she makes between 5 and 10 calls, she gets 50 points and if she is exceptional and makes more than 10 calls, she gets 120 points.

- Target Actual: This is similar to the Actual type but the difference is this value is based on the target percentage and not directly based on the uploaded data. Every time a rep reaches a certain percentage, then she will be allotted points. For example, in the below screenshot, when she reaches 20 percent of her target, she received 10 points.

Target: Set a target percentage for the KPI.
Floor: This is the minimum KPI percentage to achieve in order to get a score.
Ceiling: This is the maximum KPI percentage after which the score will not be given.
- Target Level: This is similar to the Level type but the difference is that it lets you set a KPI level percentage and a score. The score will be allotted only once the rep crosses that percentage level. In the screenshot below, 3 levels have been defined. If the rep reaches 30% of the target, she gets 10 points, if she reaches between 30% and 60% of the target percentage, she gets 20 points and if she reaches more than 60%, she gets 30 points.

Step 2: Select the Sales Reps for the Scorecard
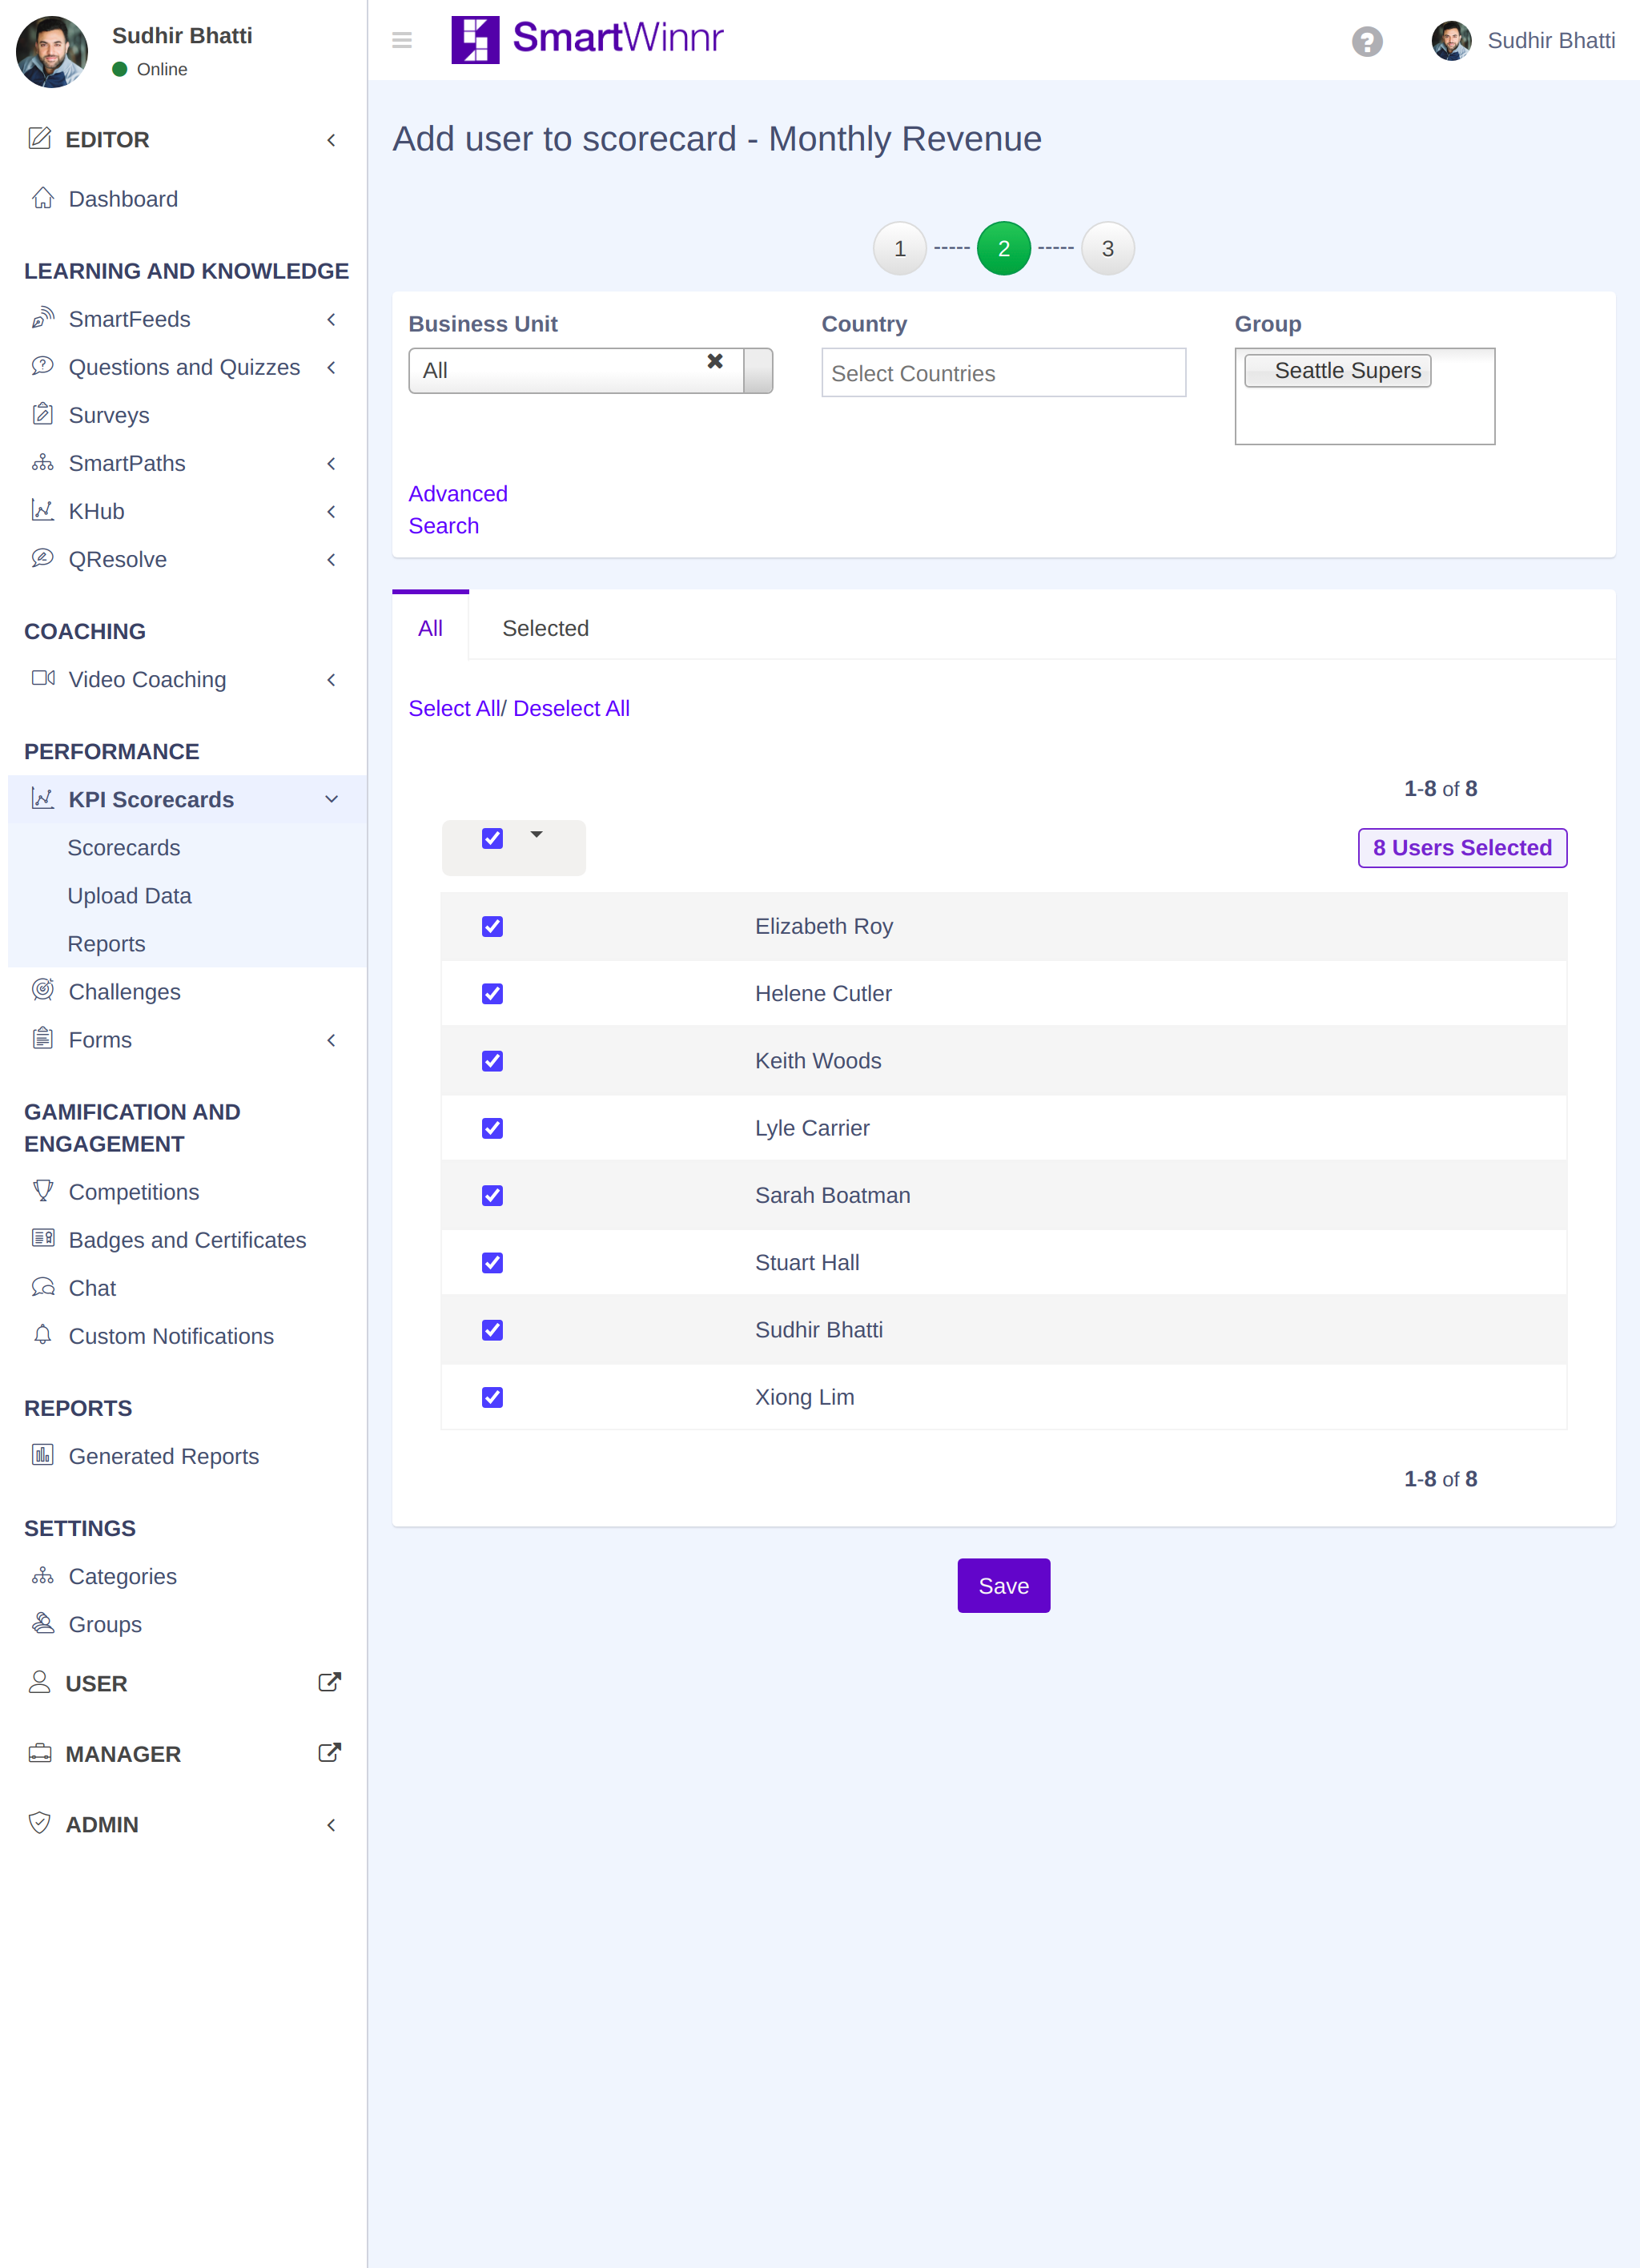
Here, you can search the users based on Business Unit, Zone, Group, Name, Email, and Meta tags and then add them to the scorecard.
Click on the 'Save' button once you have selected the users.
Alternatively, you can upload bulk users and add them to the scorecard. To bulk upload, the users click on the “Upload Users” button. It opens the following screen where you can upload a CSV file that contains your user details:
Type of action: Here, select if you want to Add Users to the scorecard or Remove Users from the scorecard.
User identifier: Choose if you want to identify and upload the users by their Email Address or User Identifier
CSV Delimiter: Select the CSV delimiter here-- Comma or Semicolon
Download Template: You can download the CSV file template here and fill in the user details.
Choose File: Click on this button and upload your user CSV file
Step 3: Change Targets
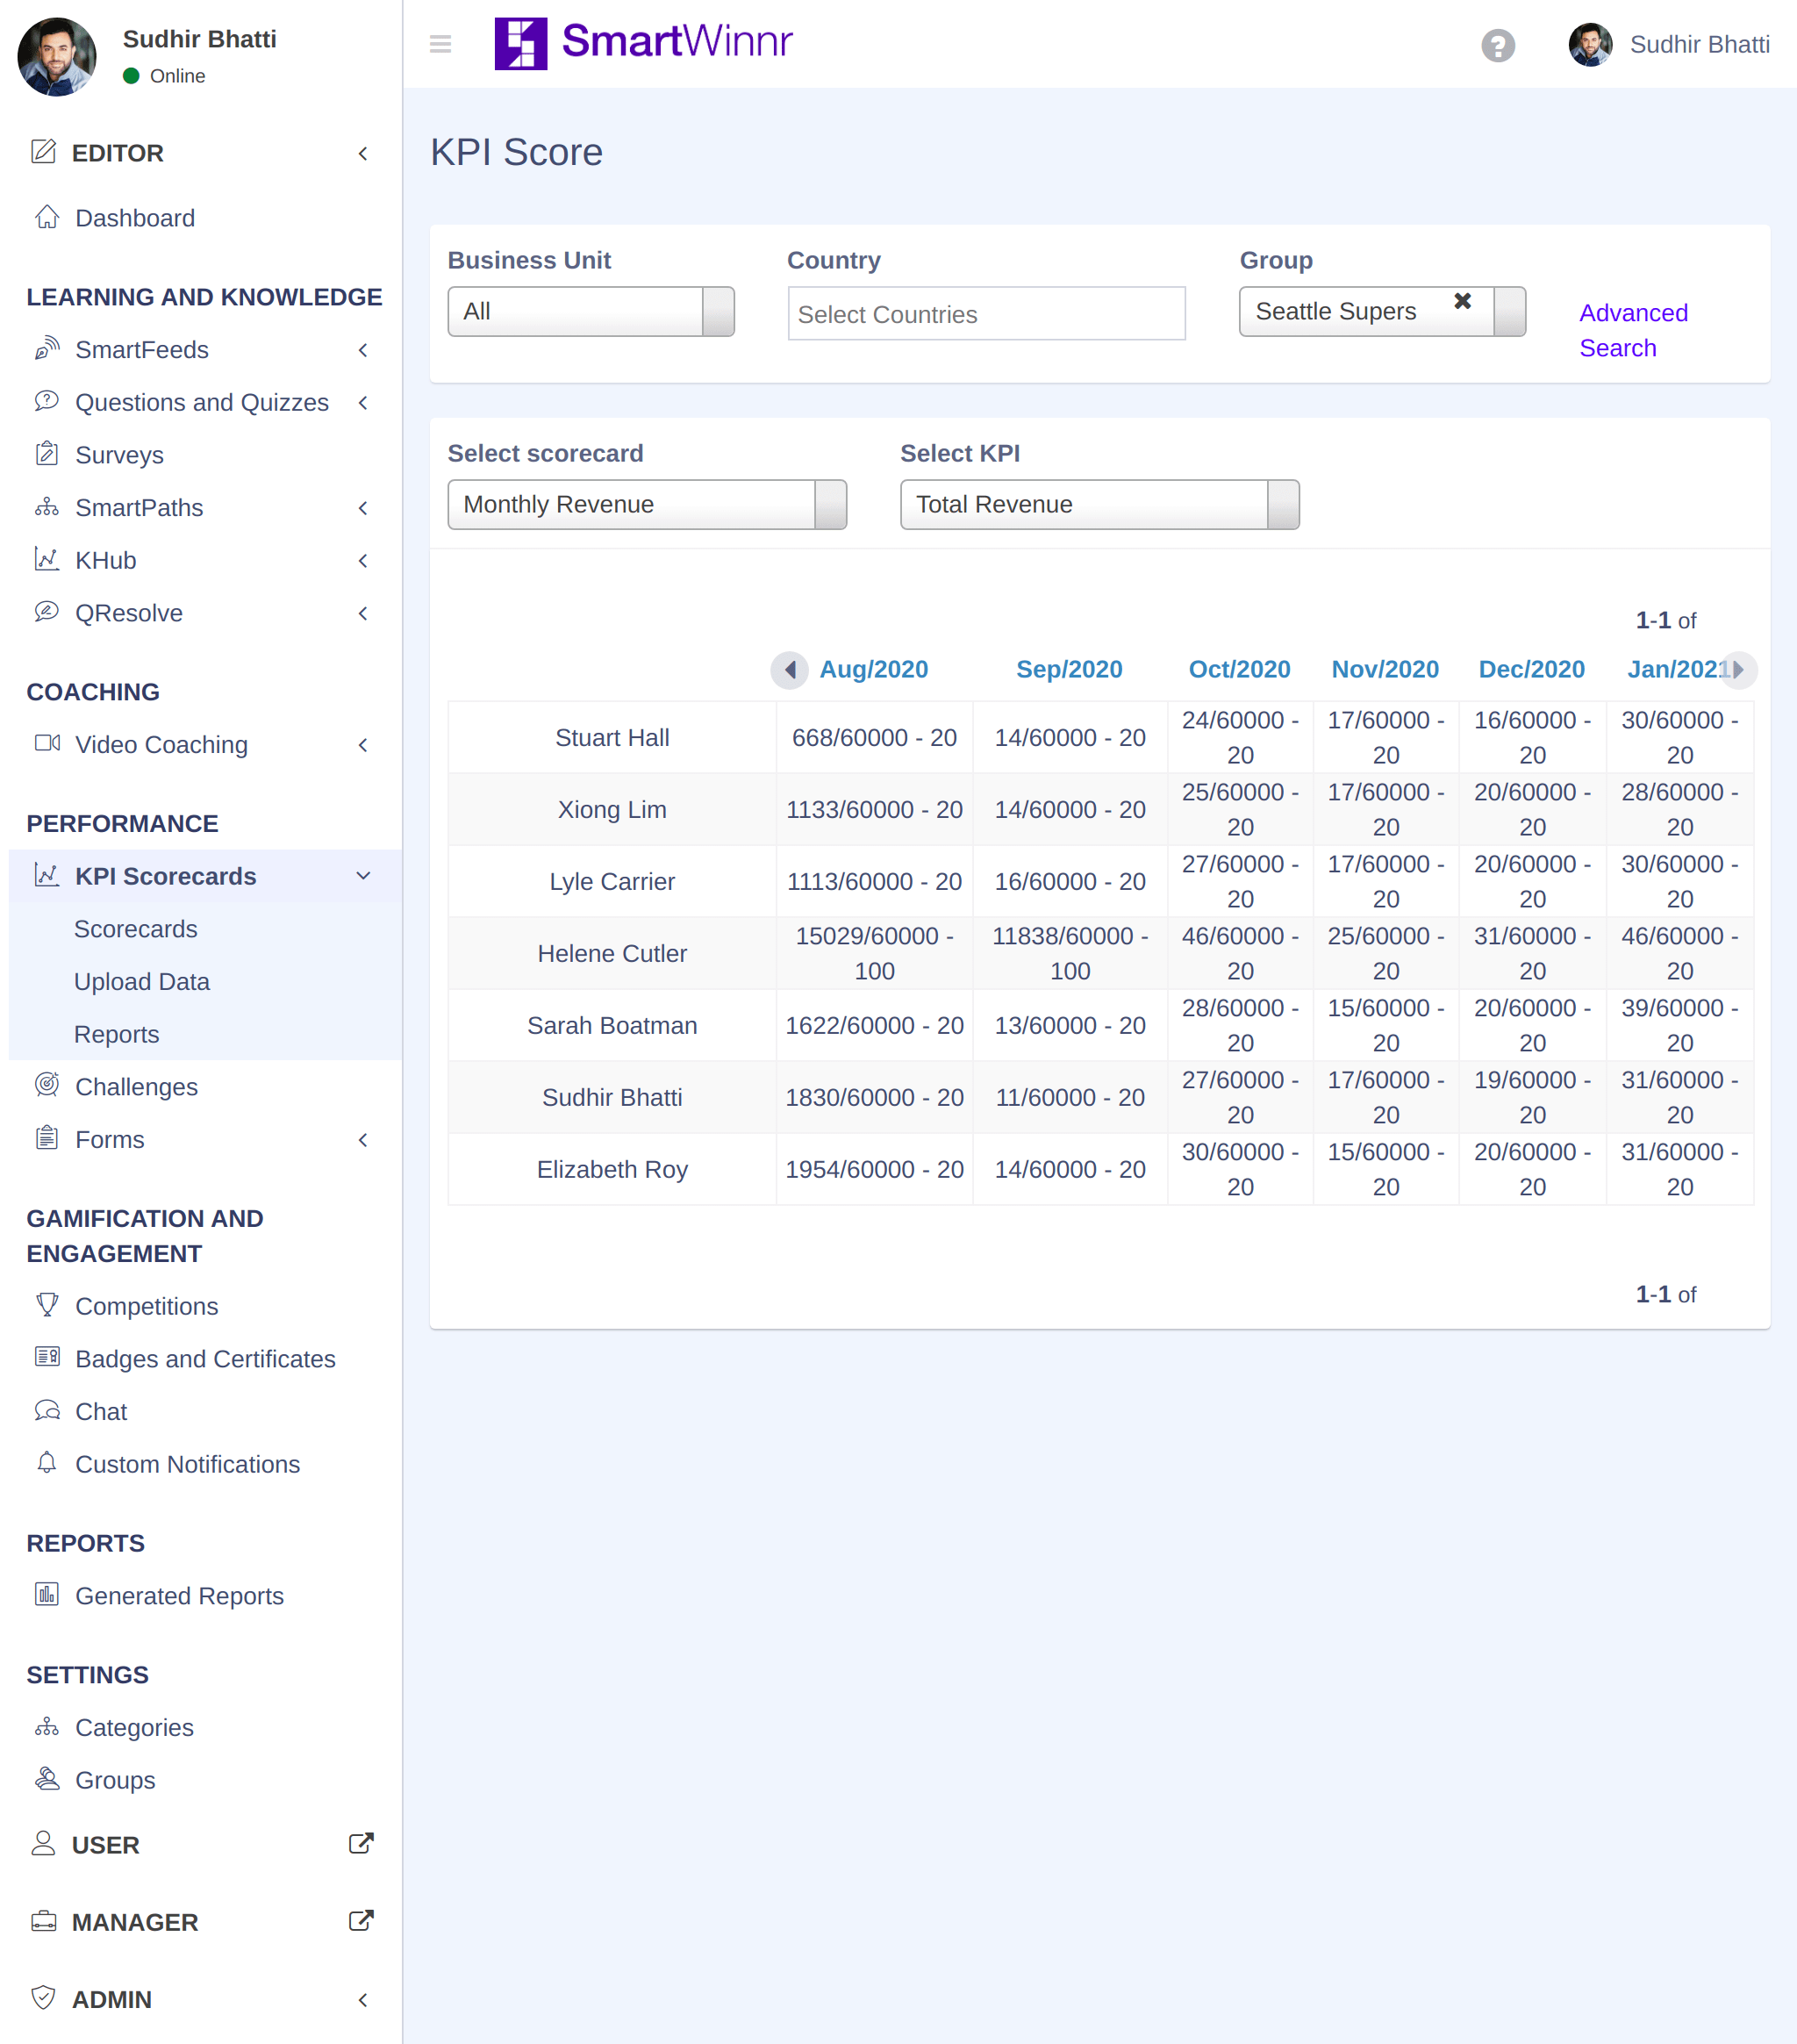
You can choose to change targets for the entire team by editing in the line of the 'Target'. Refer to How to add/change targets? to know more about editing the targets
Once all the changes are done, click on 'Save' and the scorecard is on.