
How to create an automatic quiz?
Steps to Create an Automatic Quiz
- Navigate to Editor > Learning and Knowledge > Questions and Quizzes > View All Quizzes.
- Click Add New Quiz.
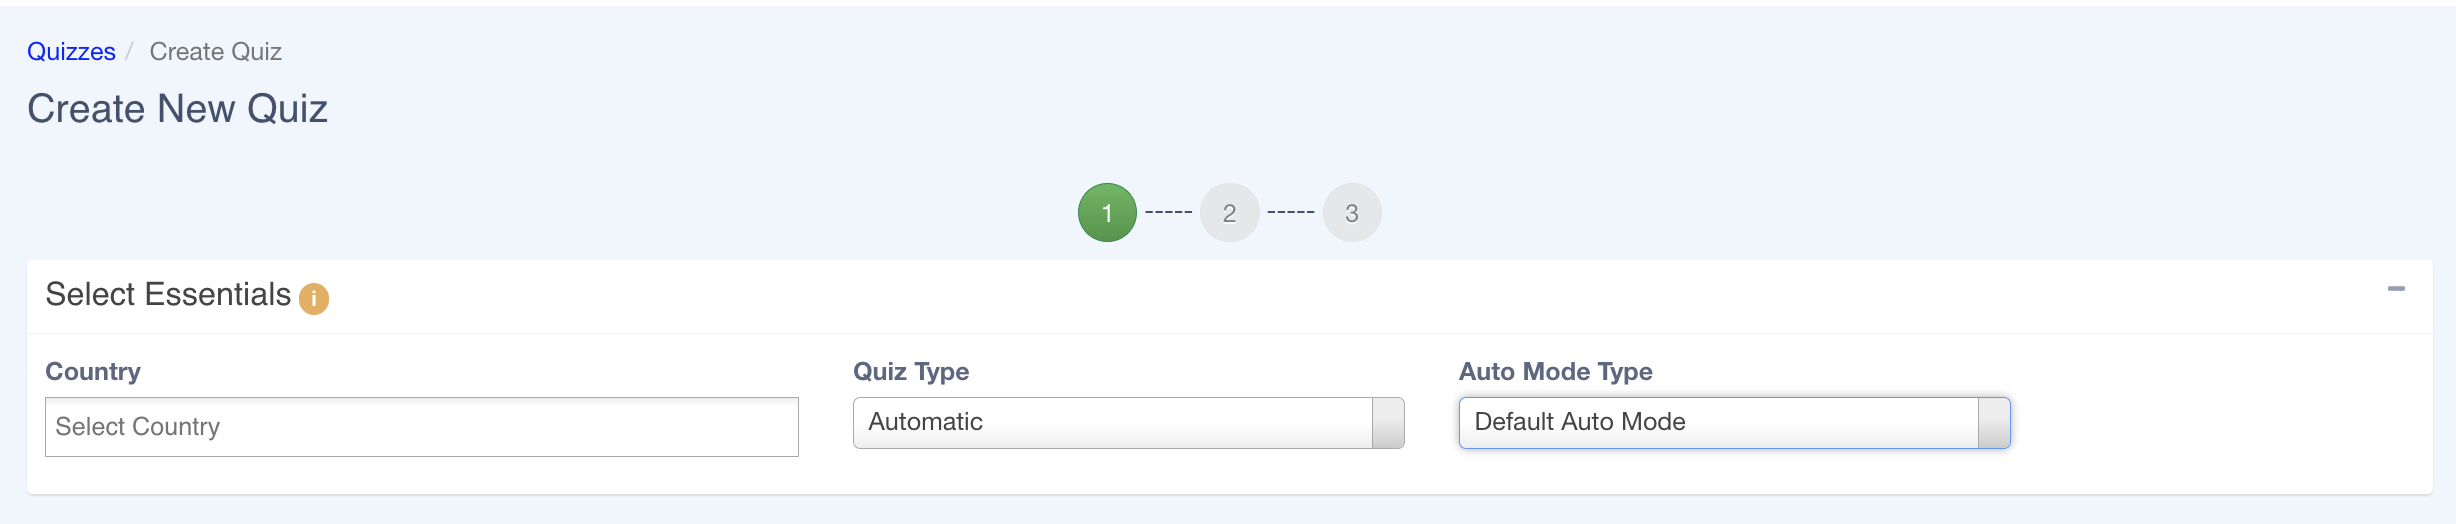
- On the Create New Quiz page, select Quiz Type = Automatic.
- Select Auto Mode Type.
You have three different mode available for Automatic quiz:
- Default Auto Mode (Balanced reinforcement) : Editor chooses this for general spaced practice: mix of new, wrong, and mastered questions. Good for ongoing retention without overloading with new content.
- Quick Auto Mode (Fast coverage of new material) : Editor chooses this when the goal is to expose users to unseen/unanswered questions quickly (70% from unanswered, 30% incorrect). Retires questions after 1 correct.
- Sequence Question Auto Mode (Ordered / curriculum-style learning) : Editor chooses this when questions must be seen in a fixed order (e.g. chapter or course sequence). Each delivery gives the next N questions in quiz order; no random mix.
Now you can enter the quiz details:
- Add the Quiz Title
- Add the Quiz Code(optional)
- Add the Quiz Description(optional)

- Start Date: Click the calendar icon to select the start date and time of the quiz. The quiz will be available to participants from this specified date and time.
- End Date: Click the calendar icon to select the end date and time of the quiz. After this date and time, the quiz will no longer be accessible to participants.
- Time Zone: By default, it will be the timezone of the editor who has logged in. If the editor need to set a different timezone, they can click on Change button and update it.
- Delivery Days of Week: These are the days on which you can select to deliver the quizzes.
Quiz Cover and Thumbnail Images:
Here you can set the quiz cover image and thumbnail image.

Quiz Settings:

- Leaderboard Display Settings: Configure how quiz results appear on leaderboards. You can choose to:
- Add scores to all leaderboards
- Add scores only to the quiz leaderboard
- Exclude the quiz from all leaderboards

- Allow Self-Registration: Quiz where users can have self-registration enabled so that anyone with the quiz link can access the quiz.
- Send Notification on Assignment: Enable this option to send a push notification to users when a quiz is assigned to them.
- Send Email on Assignment: Enable this option to send a email notification to users when a quiz is assigned to them.
- Shuffle Answer Options: Activate this setting to randomize the order of answer options for questions within the quiz.
- Integrate with LMS (xAPI): Enable this option to integrate the quiz with an LMS using the xAPI standard.
- Custom Email Subject: This option allows you to define a custom subject line for the email notification sent to quiz participants. When enabled, you will be prompted to enter the subject text.
By default, the email subject is “New Quiz Assigned.”
- Enable Completion Notification: Turn on this option to send a notification upon quiz completion.
- Show Score: Enable or disable the display of scores to participants during or after the quiz.
- Show Immediate Answer Feedback: Enable this option to display answer feedback immediately after a participant attempts a question.
- Randomize Question by Tag: Enable this option to assign a random set of questions to each quiz participant.
Quiz Review Settings

- Show quiz review: This is to enable the quiz review section where the users click on the Review button once they complete the quiz and check their responses and correct answers.
- Hide correct answer for incorrect responses: Enable this to hide the correct answer for the questions where the user has selecte a wrong answer option.
Default Auto Mode Settings

In an automatic quiz, SmartWinnr automatically delivers targeted questions to each participant based on their past response history. This approach is particularly useful when managing a large question bank and aiming to distribute a limited number of questions per quiz over time, while gradually covering the entire question set.
The editor can configure various settings for an automatic quiz, including:
- The frequency of quiz delivery: Number of days between successive quiz delivery. For example, if set to 1, every day the SmartWinnr system will send 1 quiz to all the participants assigned to the quiz.
- The number of Questions per Quiz: Determines how many questions should be sent in each quiz.
- The number of correct responses for a question to stop it from being repeated: If set to 1, after the participant has answered a question correctly, it will not be repeated.
- Percentage of questions assigned: The steps from 4-7 will allow you to assign a percentage value of questions assigned from unanswered questions, incorrectly answered questions, partially correct answered questions and correctly answered questions.
- Number of incorrect responses for question to stop it from being repeated: It is the number of incorrect responses for question to stop it from being repeated
After entering all the required details to create the quiz, click Save and Add Questions.
Adding Questions to the Quiz
Once the quiz has been created, you can proceed to add questions:
- Use the available search and filter criteria to find relevant questions.
- Select the questions by checking the checkbox to the left of each question you want to include in the quiz.

After selecting the questions, click on ‘ Save’. Next, we can assign the quiz to the participants.
Assign the quiz to participants
After creating the quiz and adding questions, you can assign the quiz to participants:
- Use the available search and filter criteria to identify the participants you want to assign the quiz to.
- Select the checkboxes next to the participants’ names.
- Once you have made your selections, click the Save button at the bottom of the page.
- You can also assign the quiz to a specific group of participants instead of selecting individuals.

Upon successful completion of the action, a success popup message will be displayed confirming the operation.
